3. 3D printing#
Let the adventure continue and turn my creations into real objects with the help of a Prusa 3D printer at the FabLab! The mission? To explore the power and limits of 3D printing.
Installing PrusaSlicer#
PrusaSlicer is a slicing software that turns 3D models into instructions for your 3D printer. Think of it as a translator.
Preparing for printing#
I followed this tutorial to prepare the gcode, using a slicing software. Here it is step-by-step :
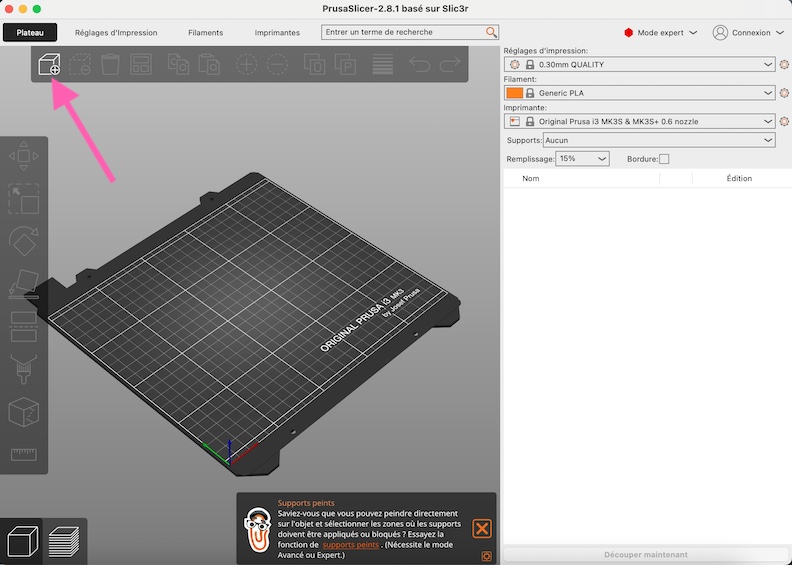
- import a STL file into PrusaSlicer
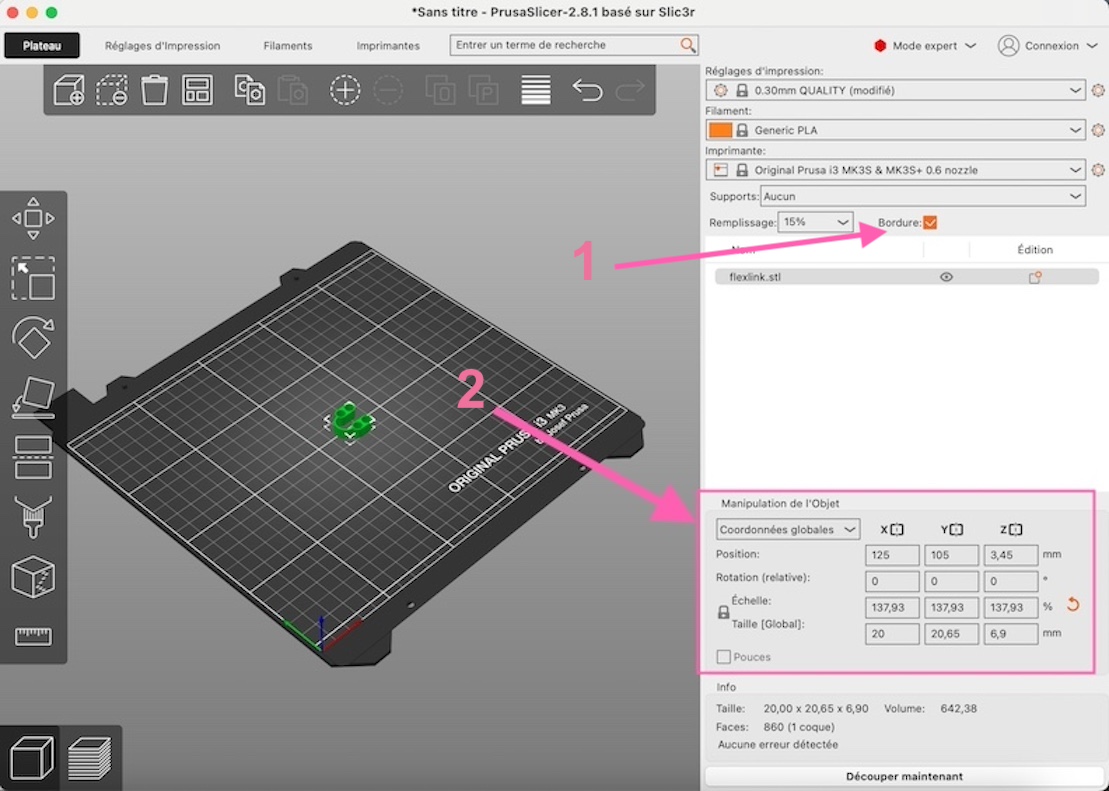
- make modifications (2) and add a brim (1) if needed
- Click on slicing
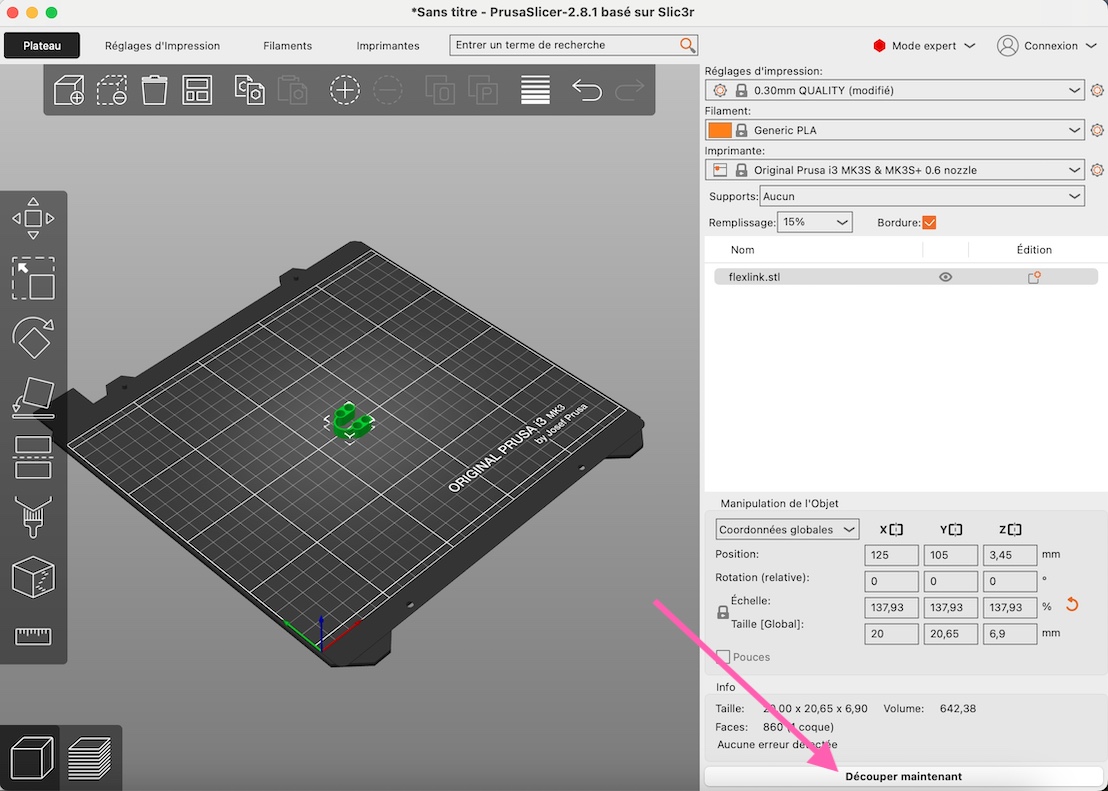
- make sure you export as “.gcode”

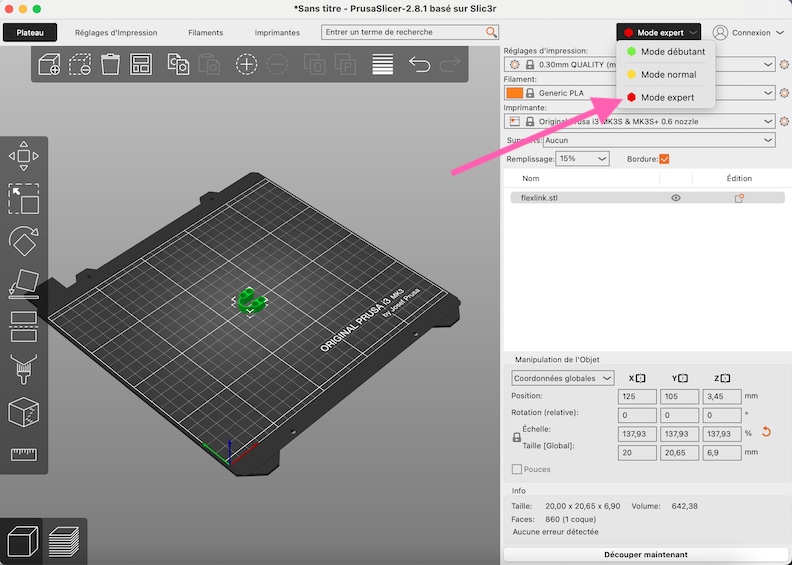
tips : put it in expert mode so you have all the functionalities
At the ULB FabLab :
- make sure the filament is “generic PLA“
- make sure the printer is “Original Prusa i3 MK3S & MK3S+ 0.6 nozzle“
Printing#
It’s finally time to bring the design to life, here is how I did :
- Place the printing plate on
- Clean the plate with the product provided (because greasy fingers can mess up the print)
- Put your “.gcode” file on the SD card (important : the printer doesn’t have any memory, so no SD card = no printing!)
- start printing by selecting the file with the round button on the right of the 3D printer
- once the printing is done, detach your masterpiece from the plate
My 3D printing#
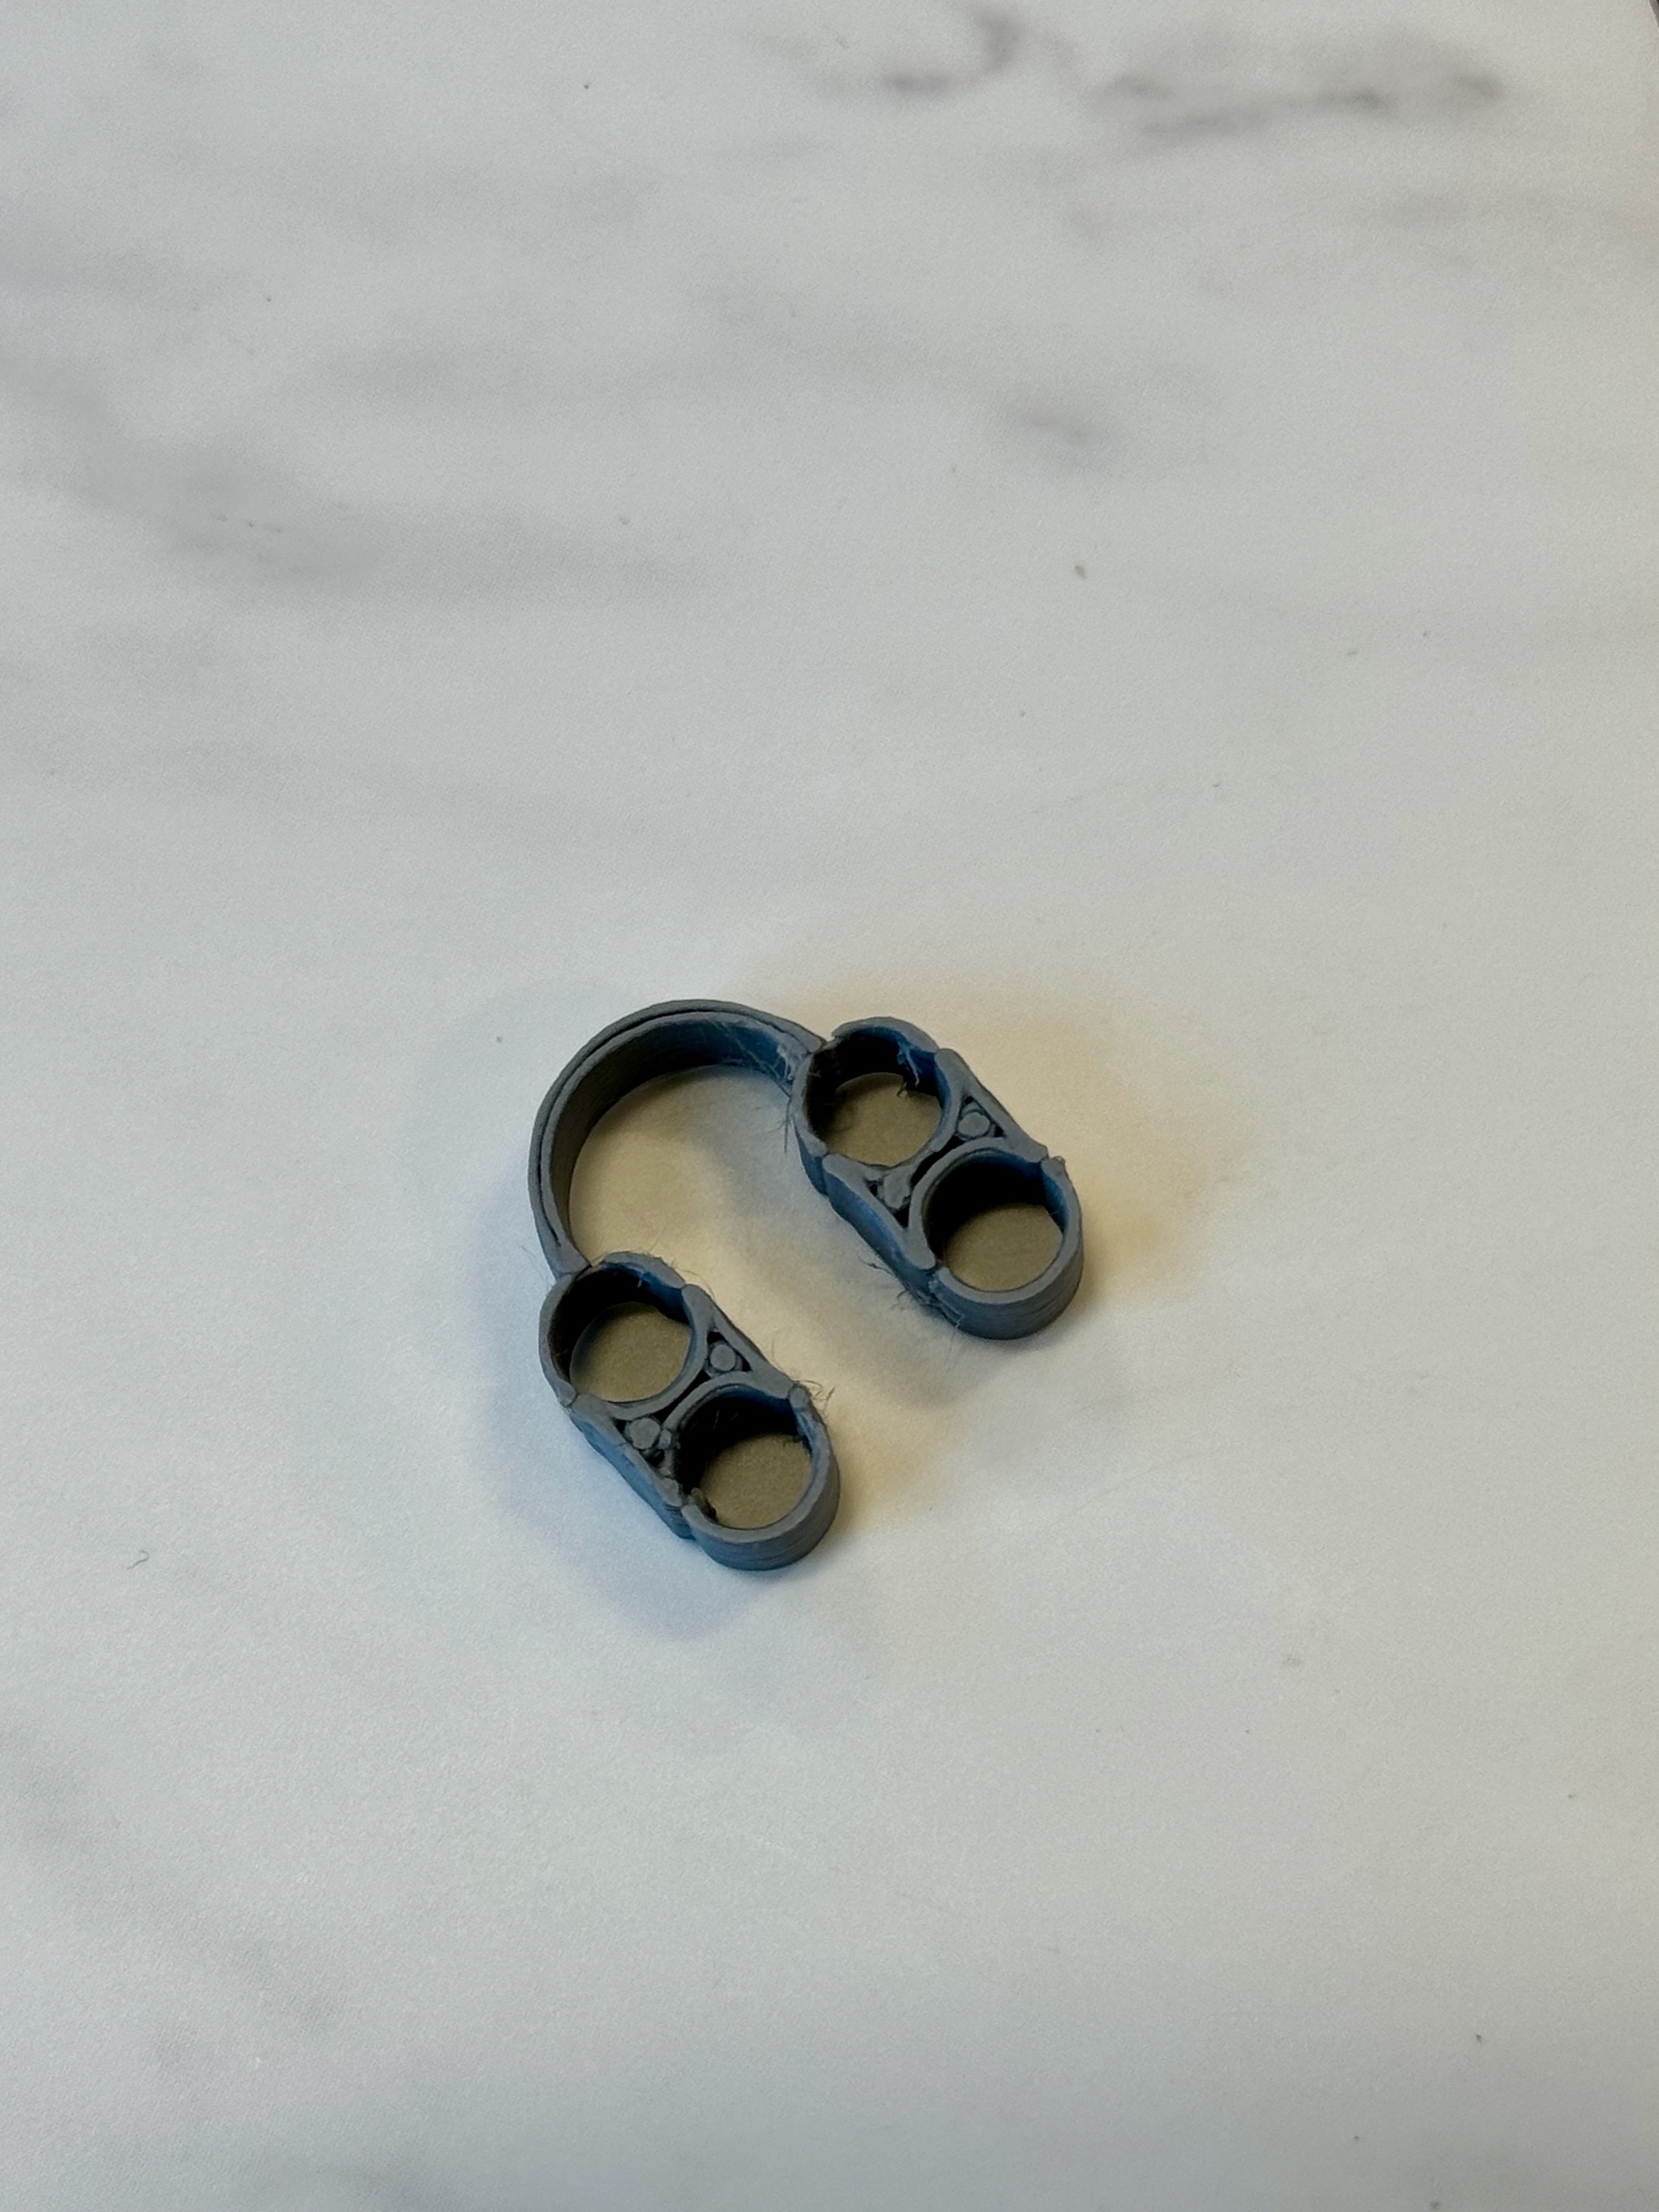
Here is the piece I designed in the module 2 :
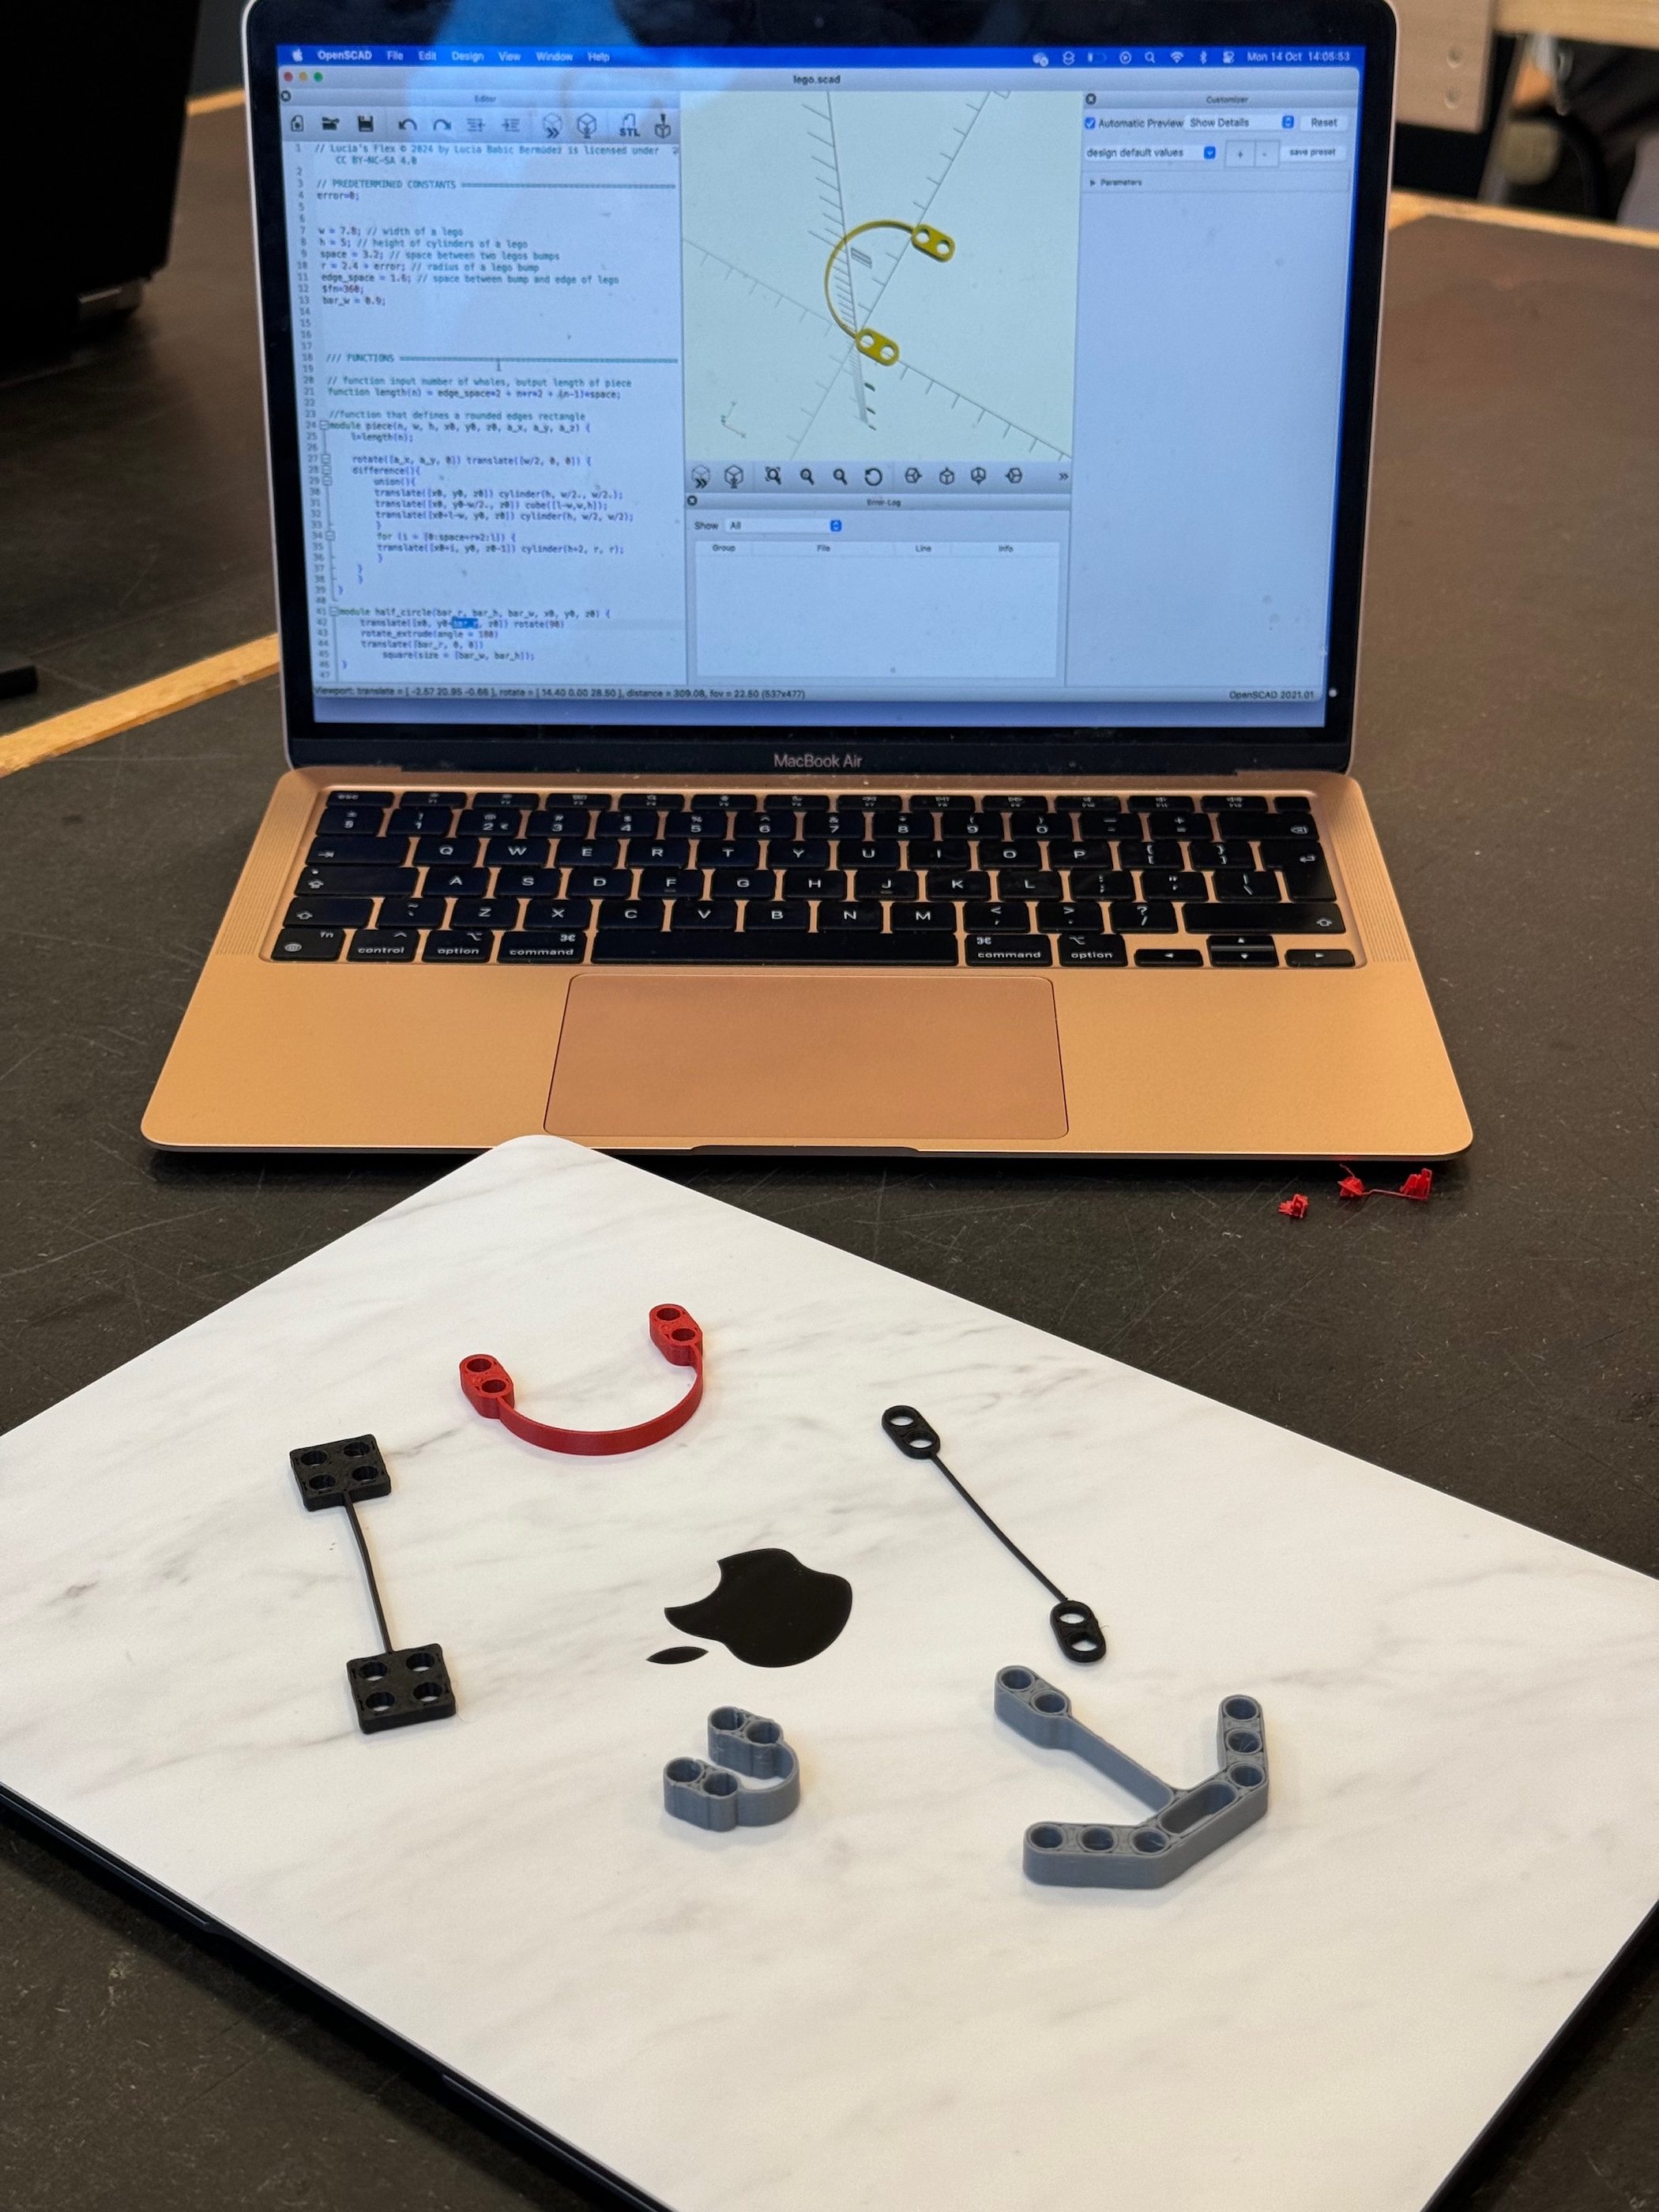
And check out the flexlinks printed by my classmates (Lucia & Matilde) and myself :
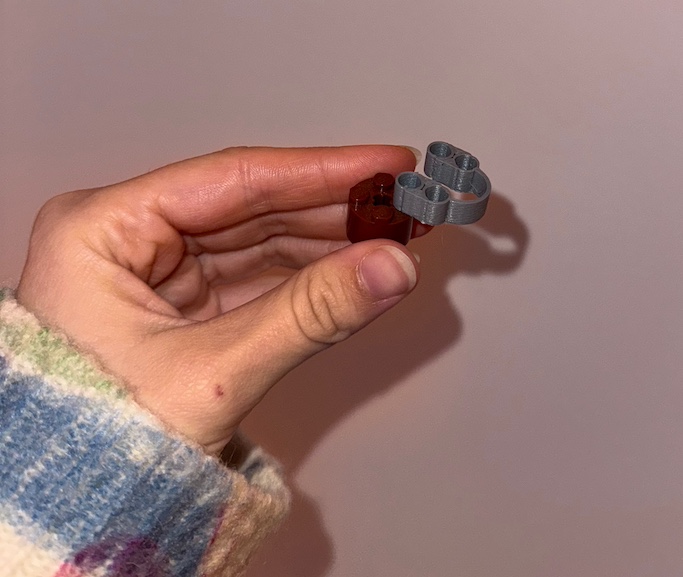
But let’s not forget the real goal of all this, does my flexlink fit on a LEGO piece? And I’m happy to say that it does!
→Mission accomplished!
Time for the next challenge!