1. Project management and documentation#
Before we begin, let’s understand the basics.
Note : I’m using macOS
Why is documenting your work so important?#
Mostly because future-you will thank you. It helps to :
- Remember what you did and why.
- Share your knowledge with others.
- Debug problems faster by tracing the steps.
- Learn from your own process and improve over time.
Now that we know the why, let’s dive into the how!
THE terminal#
How to open it?
- Press
Command + space, it will open the search bar - type “terminal” and there you have it!

- Click on it and this will open

First things first, you need to be confortable with your Terminal. Think of it as the command center of your computer. Here are some basic commands to get started :
| command | meaning |
|---|---|
ls |
list the files in a directory |
cd + folder name |
change directory (move into a folder) |
pwd |
check your current directory |
mkdir + name of the new folder |
create a new folder |
Downloading Homebrew#
It’s a free and open-source package manager, think of it as your digital assistant that :
- Installs software with simple commands
- Manages updates of your programs
- Saves time, so you don’t have to manually download and configure tools.
Dowloading Git on macOS#
- Open the terminal and paste :
brew install git
- Verify that Git is available by running the command :
git
Bam! Git is ready to roll.
Downloading VSCodium#
It is a free, open-source, easy-to-use code editor that can be used in a variety of coding languages, including HTML and Markdown.
Markdown#
Markdown is like a magic spell that turns plain text into beautifully formatted content. Here are some helpful basics :
| command | what it does |
|---|---|
| style your text | |
| surround with two asteriks (**) | bold |
| surround with one underscore (_) | italic |
| create headers | |
| # | title 1 |
| ## | title 2 |
| ### | title 3 |
| links | |
| […](link) | online link |
| images | |
|  | useful images |
| organize | |
| * or 1. | list things |
Now you are ready to make your text look amazing!
Configuring git#
In the terminal run these commands to make Git “yours” :
git config --global user.name "lawra.derhaag"
Replace “lawra.derhaag” with your name
git config --global user.email example@gmail.com
Replace “example” with your email
Switching Gitlab’s language#
- go to profile
- select preferences
- Click location
- Choose your language
- save changes
At first, my Gitlab was in french but I find it to be easier in english.
Generate an SSH key#
What’s that?
An SSH key is like a secret password. It is a pair of keys :
- a private key (keep this safe)
- a public key (you can share this)
When the two match, the server let’s you in!
But why use it?
- Push codes to platforms like GitHub
- Securely connect to servers
It’s like having a high-tech, invisible key that unlocks doors for you!
- In the terminal run the command :
ssh-keygen -t ed25519 -C "\<comment\>"
- Press “enter”
- enter a password of your choice
Add the SSH key to your GitLab account#
- sign into GitLab
- in the top left corner select your avatar
- click on “edit profile”
- select “SSH Keys”
- Click on “add a new key” and paste this :
tr -d '\n' < ~/.ssh/id_ed25519.pub | pbcopy
Cloning with SSH#
- In GitLab click on your profile
- click on “code”
- Copy the URL and paste it in the terminal
example of URL : git@gitlab.com:fablab-ulb/enseignements/2024-2025/fabzero-experiments/students/lawra.derhaag.git - enter your passphrase for the SSH key
Adding a picture#
- Make sure it’s a .jpeg file :
Open the picture → File → Export → choose jpeg → hit save - Resize the image :
click on the picture → tools → adjust size → change the resolution to make it as lightweight as possible we want the picture to take the less space possible - Upload it to your text editor :
Drop it in - Add it to your documentation :
Use this syntax

Pushing from VSCodium to the class archive#
-
Save your file in “explorer”
-
Head over to “Source Control” → Commit & Push → Add a comment explaining all your changes → Hit ✓
Downloading MkDocs#
To pre-visualize my work and see how everything comes together, I went on a little quest and downloaded MkDocs! It’s like having a crystal ball that shows you your docs in real-time, before it even hits the web!
Once it is downloaded, just run the command mkdocs serve in your terminal, it’ll give you a link, you can just copy and paste it in your browser.
Problems I had#
- Forgot to configure Git, so my first push failed. Lesson learned!
- At first, I didn’t write comments really explaining all my changes, which can make it hard to track what I had done.
- I ran into a problem with my Git pipeline at one point. It complained about an “invalid IPv6 URL” and refused to upload my site. At first, I asked my teacher for help, and he gave it his best shot but the roots of the problem remained a mystery. Determined, I tried fixing things : changing links, removing parts from the last commit before the bug appeared,… and just like magic, everything suddenly worked again!
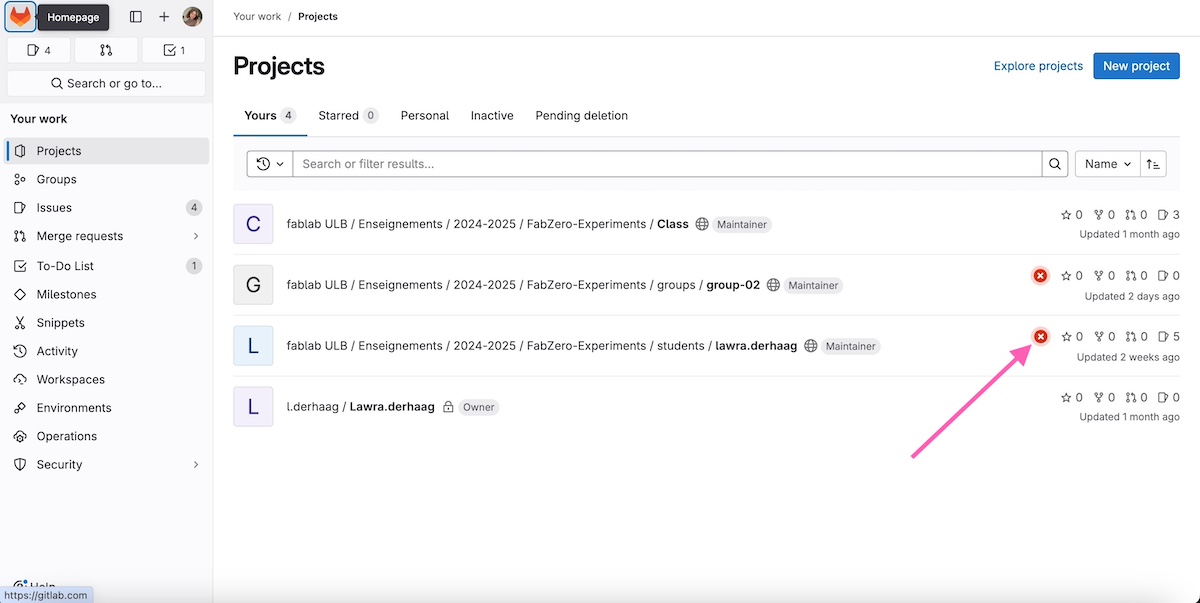
Import issues#
Here is a guide
Useful commands for macOS with AZERTY#
| what? | how to do it |
|---|---|
| screenshot | command + shift + 5 |
| [ | option + shift+ ( |
| ] | option + shift + ) |
| \ | option + shift + / |
| { | option + ( |
| } | option + ) |
| | | option + maj + L |
→And now, armed with all this new knowledge, it’s time to dive into the next module. Let’s level up!